How I Soldered For The First Time And Fixed My Daughters Toy
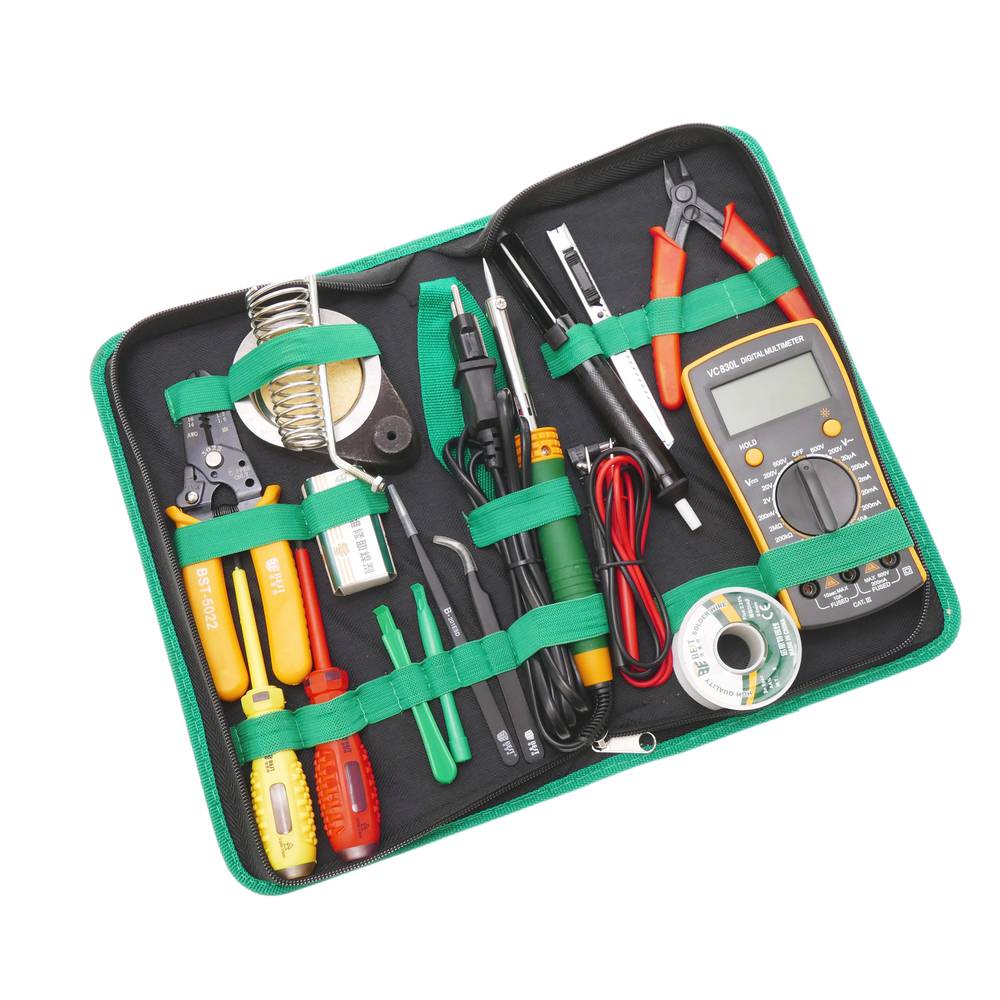
Being in software for so many years, the idea of working with hardware, electronics and low level systems always interested me. I played with a micro-bit for a while and had so much fun with the Discovery book. After a while and lots of project ideas I got online and bought an STM32 microcontroller and also what looked like an electronics toolkit. Something that looks like this. When the order arrived I was ecstatic! I was gonna build so much stuff but then life happened. I got a beautiful daughter and time and energy for hobby projects was scarce.
Fast forward ~2 years later, my wife got one of those bubble making gun toys for my daughter. She wanted one after trying one of her friends bubble guns in the park, we saw how much fun they had so we promised to get her one too. After trying it for a bit in front of the store, we all had to leave to pick some stuff up from the market and we didn't let her play with it in the car. She patiently waited until we arrived and then she went blasting, but only for a short while. The thing broke and didn't produce sound or bubbles anymore. She was devastated and so was I after seeing her. I got the toy and saw that the trigger seemed stuck. I told her I would try and fix it when we get home.
I got a screwdriver and opened the thing up. It looked really basic with only a few components and I found the culprit right away. The button that the trigger was pushing was broken. It didn't click anymore and was out of place. I immediately recognized it as the same button thats on the microbit on my desk. After consulting with my LLM of choice, I found out that that button is called a tactile switch and is fixable by replacing it. It said that the button is cheap and I can easily get one at any electronics store. Thing is, we don't have an electronics store where I live and ordering one online would mean I pay more for the delivery than the actual button or two. I put that option aside and thought i would just make my beloved microbit a donor. But I didn't really want to ruin my microbit so i asked for some alternatives. Maybe another broken toy has one or something and Claude recommended me a broken or old PC mouse. I have plenty of those fortunately so I opened the box which was used as a computer peripherals graveyard and got a mouse. I opened it up and sure enough there was not one but three tactical switches inside! What a treasure from something I discarded a long time ago.
Now comes the hard part. The next steps in the fixing artifact Claude spit out was using a soldering iron and soldering wire. I never used one in my life but I wanted to for so long and I know I have one in the kit i bought years ago. I found my toolkit and opened it up. Stuff still wrapped in bubble wrap lay inside. I got the soldering iron and the stand it was supposed to stay on while hot and plugged it in so it can get warm as per the instructions. I also got a pump thing that was supposed to get the leftover stuff from the unsoldering of the button. Nervous, I looked at the mouse PCB and decided which button Im gonna operate on. Once the soldering iron was ready, and I watched a few Youtube shorts on how to unsolder tactile switches, I just went to work. I managed to get the button somewhat easily. The pump thing didn't do nothing in my case or more likely I didn't use it properly but it didn't matter. The operation was a success and the first step was complete. I had my working donor button ready. After a very brief congratulatory break, I cut the two wires that connected to the broken button on the toy about 2-3mm from where they were connected and set that useless button free. I tried exposing the wires with the pliers I used to cut it, but I didn't manage to do it and I feared I would just cut it even further, so I used my teeth with great success. With the wires exposed, I looked at the next steps in the instructions, went on and touched a damp sponge on the hot soldering iron tip once or twice for some reason. Then I got the soldering wire from the kit and got a bit on the tip of the iron so it looks shiny. What comes next was the final and hardest part. The actual soldering of the donor button to the wires of the toy. Now I wish I had pictures, and I fear if I open the toy again I will invoke Murphy’s Law and will break something unfixable, but I hope you will believe me when I tell you, it was the most horrible soldering job ever done. Nothing looked right and everything looked like it was gonna fall off at any second. But it didn't. I got the batteries inside the toy again and pushed the button. Oh what bliss. What wonderful symphony came out from the toy. Music, sounds, lights, and bubbles! It was the hello world of soldering for me and it compiled. The joy was the same and nostalgia came over me.
I quickly assembled the toy again like a solider who has done this a thousand times and rushed to show off my work. I went in the living room blasting bubbles everywhere. Got a proud wife and a very happy daughter. I can't wait for an opportunity to open my toolkit again and get to work on something real and I don't think I could have thought of a better first project than this to get into soldering/electronics.
Authors notes
- This is also my first blog post ever so a lot of firsts for me!
- English is not my native language so bare with me for the mistakes.
- While I use AI for everyday stuff, I dislike its usage for creative tasks. Writing and especially writing blogs seems too personal to me to delegate to some LLM that will change the way I express myself, so no AI was used in the writing of this post.